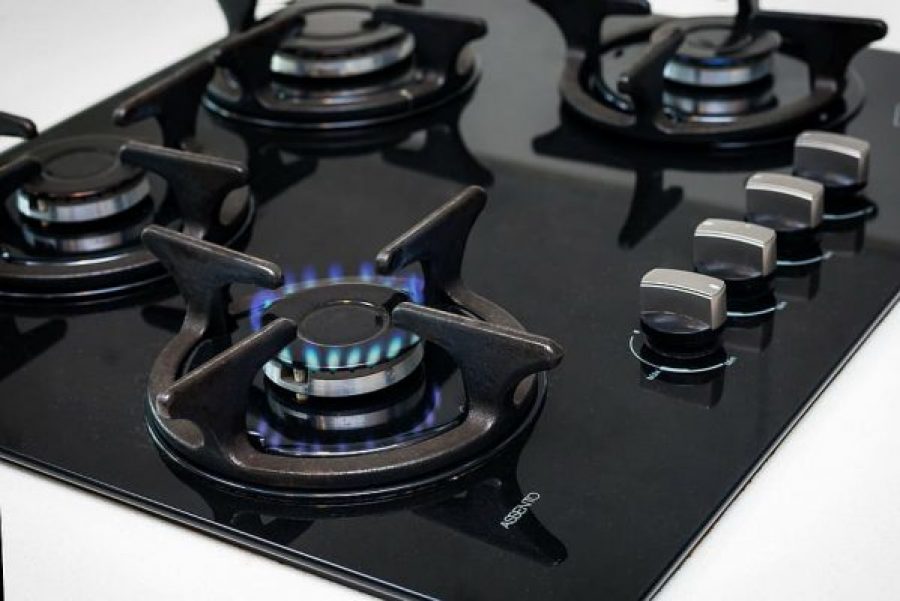
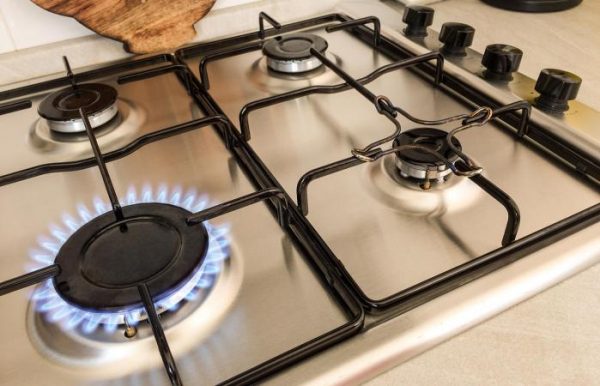
Do all the stove parts look complicated to you? You’ll be surprised that gas stove cleaning is fairly easy to do.
Despite technological advancements, gas stoves are still a preferable way of cooking for a good number of people. Electric cooktops may seem like the rave of the moment but gas stoves have also gotten better and more appealing. In fact, experienced chefs and stereotypes prefer these stoves because of the level of adjustability which they provide. They offer precise control, are easier to cook with and some cooks will not make use of anything else.
The only problem with gas stoves is that they get dirty and easily lose their effectiveness after a long period of use. Failure to clean your stove after weeks and months of cooking will clog up the pores to prevent the free flow of gas. A dirty or clogged gas burner will give off a weak flame, and in some more extreme cases will prevent it from getting lit at all. To keep this from happening, you have to ensure that you regularly clean the stove. But how do you go about this? Do all the stove parts look complicated to you? You’ll be surprised that gas stove cleaning is fairly easy to do.
How often should you clean your gas stove?
Before learning how to clean up, you have to decide on how often you’re supposed to do it. As mentioned earlier, using a gas stove offers precise control but continued use can prevent the free flow of gas and limit its effectiveness. During regular daily cooking, food residue spills over the pots and pans and covers the pores on the burner heads. When accumulated for some time, these food particles may become more difficult to clean up. So, when should you clean your gas stove?
It’s important that homeowners make it a point of duty to clean their burner heads when the flame starts to become irregular or gives off a yellow color. If you’re interested in creating a schedule, then cleaning it once a month should be more than enough to give you the best performance.
What do you need for your gas stove cleaning?
The importance of cleaning your burners has been established. What would you need to complete the entire process? It’s important that you go through the manufacturer’s instruction manual to take a look at the list of recommended products. Certain manufacturers do not allow the use of some products on the burners and it’s best that you avoid them. Generally, you can make use of the following;
- Dish soap
- Paper clip
- Baking soda
- Non-abrasive scrub pad
- Old toothbrush
Gas Stove Cleaning Process
Finally, you’re ready to clean your gas stove. You can get it done according to the following steps;
-
Read the manufacturer’s manual.
Gas stoves are an important part of your kitchen and they cost quite a lot. Going through your manufacturer’s manual is the best way to identify the best care that you can give to your gas stove. This manual will point out the different parts of the drive that are safe to remove and you’ll find the whole cleaning process to be much easier. Certain manuals may go as far as recommending the best cleaning products to use or those to avoid altogether. It could reveal to you the easiest method to unclog the burners and get your gas running optimally. If you can’t lay your hands on the written instructional manual, you can get it from the manufacturer’s official website. -
Remove the burner caps.
For anyone who uses an old model cooktop that features a standing pilot light, its important to turn off the gas source before starting this process. A lot of gas stoves feature a ceramic disc on the top of their burner to diffuse the flames. This should be removed. It’s important that you make sure the burners are cool before doing this or you may hurt yourself. Usually, it’s safe to turn off the gas stove for 30 minutes before you start cleaning. -
Take off the burner heads.
Under the caps that you just removed, you’ll find the burner heads resting on venturi tubes. The burner heads can be removed by lifting them up. Make sure that you do not damage or bend the ignition electrode if your burner makes use of this mechanism. It’s important that you dismantle the parts slowly, one after the other. -
Soak these parts (burner caps and burner heads) in water.
Prepare a mixture of warm water and soap. Soak the burner caps and heads in this mixture for about 20 – 30 minutes. This will make it easier to wash off any debris that has attached themselves to these parts. -
Scrub the Burner heads and burner caps.
Pick up your non-abrasive scrub pad and toothbrush and scrub away any food debris on the surface of the burner heads and caps. To deal with food debris in the pore openings, make use of a straightened paper clip to dig it out. However, it’s important not to cause any damage to the metal. Take care not to dig too deeply, you’re only trying to unclog them. Using a toothpick isn’t the best solution because the wood may break off and further club the ports.
To deal with stubborn stains, make a paste of equal parts of baking soda and water. Apply it to the surfaces of the burner heads and caps and scrub with the toothbrush and non-abrasive scrub pads. You may need to apply this repeatedly depending on the type of stain. Avoid the use of bleach or steel wool to clean burner heads and caps.
-
Rinse all the parts.
Make sure that you rinse each of the parts in running water. Shake them to remove the water before going ahead to dry them. Let all parts dry properly before reassembling them. You can attend to cleaning other parts of the gas stove as you wait for the burner heads and caps to dry. -
Reassemble the burner.
When all of the parts of the gas stove are dry, you can reassemble them by following the manufacturer’s manual. As you reinstall the burner heads and caps, make sure not to bend the ignition devices electrodes. After you’re done, test the burners to make sure they are working properly. Any unusual flame color may be due to some wet components or poor installation. Make sure that everything is as it should be. Then, your stove is ready for another cooking session.
Gas stove cleaning is a great way to ensure the longevity of your appliance and you should make it a part of your routine. It may seem like a complicated process but all you have to do is follow the steps listed above. Proper cleaning will make your gas burn better and the next cooking session will be great.
Read 6 REASONS HANDHELD VACUUM CLEANERS ARE THE PERFECT HOLIDAY GIFT


Leave a Reply