
Preemptive cleaning is the easiest type, but good intentions don’t always yield good results
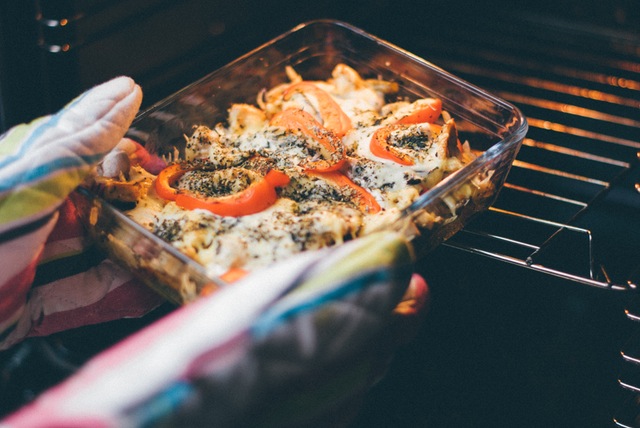
As a voracious baker and self-proclaimed housewife, I love to make a mess in my kitchen. Normally when I have a project in progress, my counter and face are covered in flour, my sink is full of dishes, and my house smells like magic. I bake cupcakes, cookies, cakes, quiches, pizzas, and everything in between to feed my husband and myself. Fast forward to my fallen face when I find out my magical cupcakes have expanded out of their liners, out of the tin, and onto the floor of my oven. That part is not so magical, especially the smell of burnt mix as it bakes to the bottom of my oven. Unfortunately, this is a fairly common occurrence in households that frequently use an oven. We also don’t own a microwave, so the oven is my go-to solution to cook anything, whether that means reheating last night’s pizza, baking cookies, or even toasting bread. You can use a few different methods to clean your oven.
Pre-clean
My favorite method is the preemptive method. Buy a oven liner (you can find them online at restaurant supply stores). Make sure it’s non-stick and resistant to a temperature of around 500 degrees Fahrenheit. If you’re baking at a higher temperature than that, you’re probably more of a chemist than a baker. This allows for easy cleanup after a big spill. Simply wait for your oven to cool, them wipe the liner clean. If you created a huge disaster of your baked goods flowing lava-style onto the liner, simply remove it and wash it in the sink. Allow it to dry completely before putting it back into your oven. Preemptive cleaning is the easiest type, but good intentions don’t always yield good results. Therefore, I have a few other options to consider when cleaning your oven.
The oven can clean itself
A non-toxic option that is available on some ovens is a self-cleaning feature. This will lock the oven door, and using an incredibly high temperature, it will effectively bake off any residue that has been left behind by your baking ventures. This will last about three hours, making it easy and hassle-free for you to rid your oven of any residue. You simply start the cleaning process and wait for it to finish. However, a word of caution: sometimes this process causes smoke or a burning smell. You may want to move a few fans into your kitchen while you run your self-cleaning oven to circulate the air. Never leave your oven unattended while it’s self-cleaning. Remember, it’s baking off the residue which in some instances could lead to smoke or even a fire.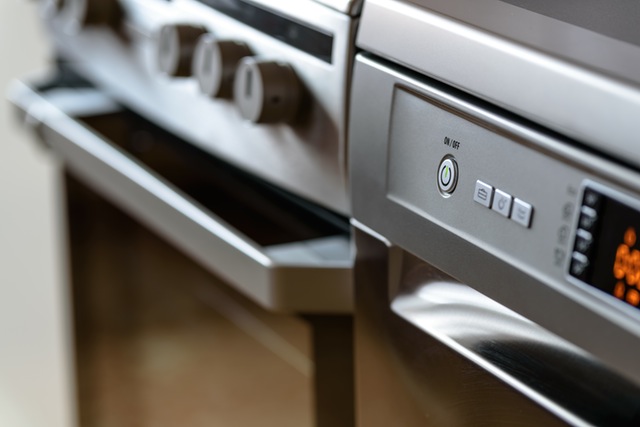
No self cleaning oven???…read on
If your oven does not have a self-cleaning feature or if you feel that the mess inside is past the point of no return, there are many heavy-duty cleaners that work well and tackle even the toughest of grease stains. Most of these cleaners contain harmful and abrasive chemicals, so exercise extreme caution. Use elbow length gloves and keep the area ventilated. Concentrated fumes are just as dangerous as direct contact. Most oven cleaners contain butane to break through the burnt layer of fat. It’s an organic compound that allows the cleaner to adhere to the oven surface. In addition to the butane, sodium hydroxide is another active ingredient, more commonly known as lye. The lye will break down the fatty tissues of anything burnt onto your oven walls, floor, or door.
How to use the oven cleaners
Spray the cleaner evenly over the area of the oven you want to clean. I recommend spot cleaning unless the mess is excessive; the less of this product you have to use, the better. Allow the cleaner to sit for 15-30 minutes. This will give the product time to break down the debris and pull it from the surface of the oven. Use a dual-use sponge to scrub the inside of the oven once the cleaner has had time to break down the residue. A dual-use sponge has two sides: one with the soft, spongy side, and the other with a coarse, scrubbing side. Use the scrubbing side to efficiently extract the residue. This will leave a gunky, brown foam in the oven and on your sponge. Rinse it thoroughly as needed. Once you have scrubbed each set-in stain, rinse your sponge one more time. Now using the softer, spongy side, wipe the oven clean. This should take care of any leftover dirty foam. Finally, allow the oven to dry and wipe it once more with a damp microfiber cloth. This will make sure no residue is left in your oven, whether that be baked-on food or cleaner.
Final words…
Cleaning your oven can be tiring and cumbersome. It takes time and elbow grease to truly make the inside shine. If you’re using the final method to clean your oven, I would allot yourself one to two hours to make sure you reach the sides, bottom, and top of the oven as well as the oven door. Grease and debris will hide under the heating element and in the hard to reach corners, so give yourself ample time for multiple layers of cleaning.
Your oven should be a place that invites your guests into your home with enticing smells of homemade apple pie or a holiday turkey. It’s as much a part of your house as the living area or your bedroom, and should be tended to as such. Once your oven is shining and spotless, celebrate with a round of pumpkin muffins or holiday cookies to share with your guests. Fill your home with the aroma of freshly baked goodies instead of old, baked-on residue. Your family and your guests will thank you for it!
— Sydnie Olliff


Leave a Reply